My home made CNC router
In 2018, I stumbled upon the Arduino software GRBL while browsing the internet. I was intrigued and so installed it on
an Arduino UNO, connecting it to a couple of the cheap eBay stepper motors (ULN2003) to experiment. Before I knew it,
I had begun building my own CNC router. I didn't do any research beforehand, as is typical for my projects, but simply
started with the goal of building it as cheaply as possible using only open-source software.
I created DIY linear rails using skateboard bearings which I used for a while but they were difficult to set up and
unreliable. I eventually replaced them with commercial linear rails from eBay. I also used threaded bar for the lead
screws, but this caused the router to move too slowly, so I eventually replaced these with commercial lead screws.
Contrary to what you might imagine, building a CNC table is surprisingly simple. The physical device is straightforward,
while the software does most of the heavy lifting. All you need to do is create a table that has a rigid, sliding beam
across it, moved by a worm gear, and repeat this process three times for the X, Y, and Z movements of the router.
Although I used the cheapest components available on eBay, I haven't encountered any issues with them. My CNC router
has evolved over time and become bigger and more complex than really necessary, if I were to start over, I would use
two motors for the Y axis to make the device more stable and easier to build. I am pleased with my decision to place
all the electronics in the gantry, which keeps them nicely hidden away. The motors with shafts extending for encoders
allowed me to add manual adjustment wheels, which have proven to be a valuable feature I would not like to be without.
While I use an Arduino UNO as the controller in my CNC router, I believe an Arduino Mega or the new ESP32 version
would be a better choice. There are also ready-made circuit boards designed for the task that would make it easier.
On my laptop, I use UniversalGcodeSender to send commands (gcode) to the Arduino, which works reliably for me,
although there may be better options available. Creating the gcode can be as complex as you want it to be, and many
people use Fusion 360. However, since I only use free (FOSS) software, I opted for FreeCad, which is a great program
but overkill for my needs. I later realized that a full CAD application was not necessary, so I now draw what I need
in Inkscape and use KrabzCam to produce the gcode. This process has allowed me to quickly and easily draw and cut
shapes with my CNC router, making it an essential tool in my workshop.
Since building the first one I have now made myself an all metal one using some more expensive components but I
have still only spent less than £500 on it (although I used a lot of metal I already had in stock).
THIS FILE is an example of a Inkscape file I have created, I then load this
file in to KrabzCam and this produces the gcode files, these files I then load in to UniversalGcodeSender and this operates
the router. There is a link to KrabzCam at the botom of this page if you want to give it a try, it is a very
impressive bit of software I only recently discovered.
The easiest way I have found of using my router is to move the router bit to the bottom left of the work piece, just
touching the surface and add the following to the top of the gcode file:
G21 ; set units to mm
G17 ; xy plane
G92 X0 Y0 Z0 ; set current position as zero
g28.1 ; store as home position
G90 ; absolute positioning
g0 z20; ; move up
M3 ; spindle on
To give some idea of what it cost to build the Arduino cost £3, the 3 motor control boxes were £6 each, the 24v
power supply £12, linear bearings were around £30 for the large ones, Stepper motors around £20 each,
router £30. The router bits I find I use most are 3.175mm and 1.5mm diameter and cost around £8 for 10.
Videos
My cnc in action
PCB being cut
How I use my router (although I no longer use Laserweb)
Pictures
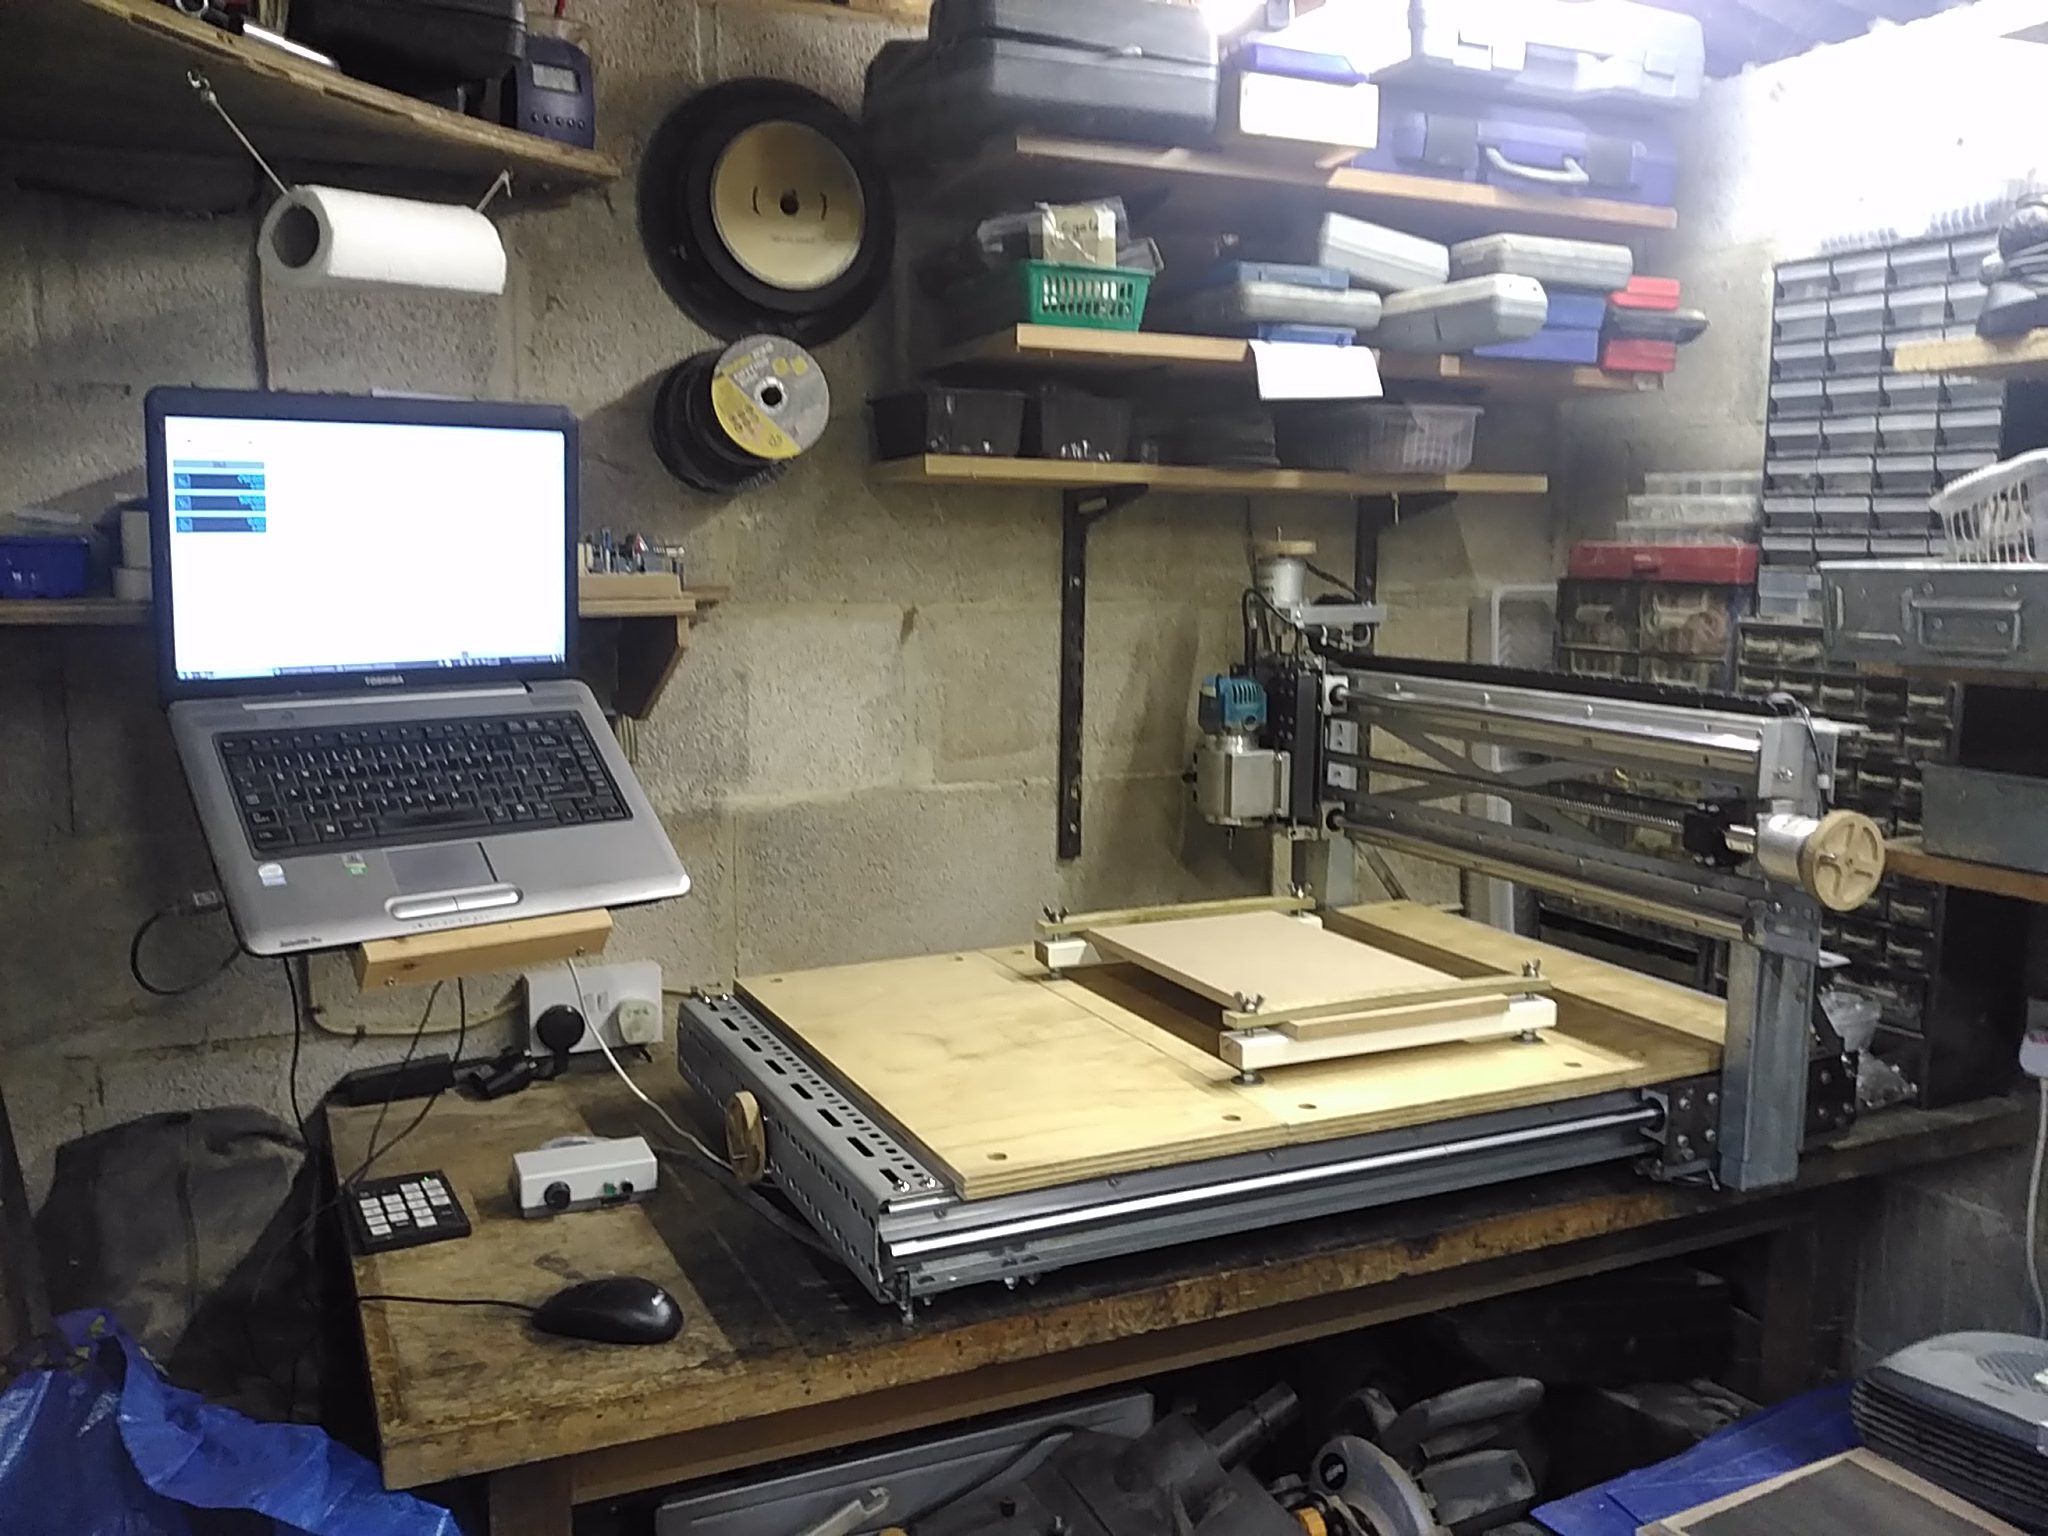
This is my latest router which I finished building Jun23, total cost £400 although I used a lot of metal I already had
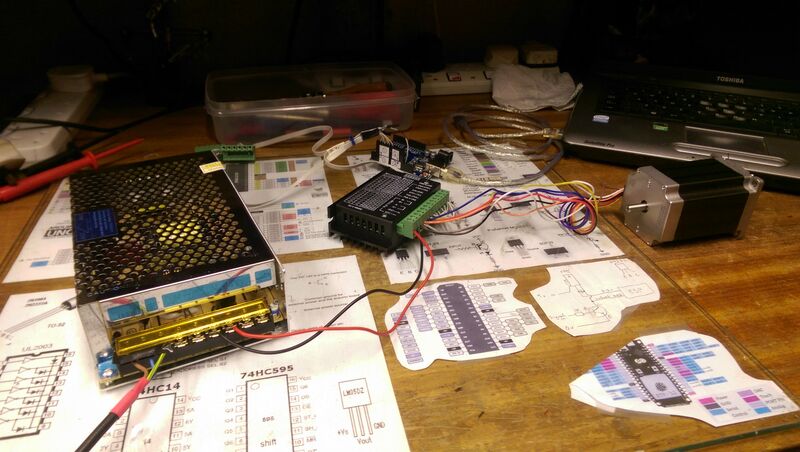
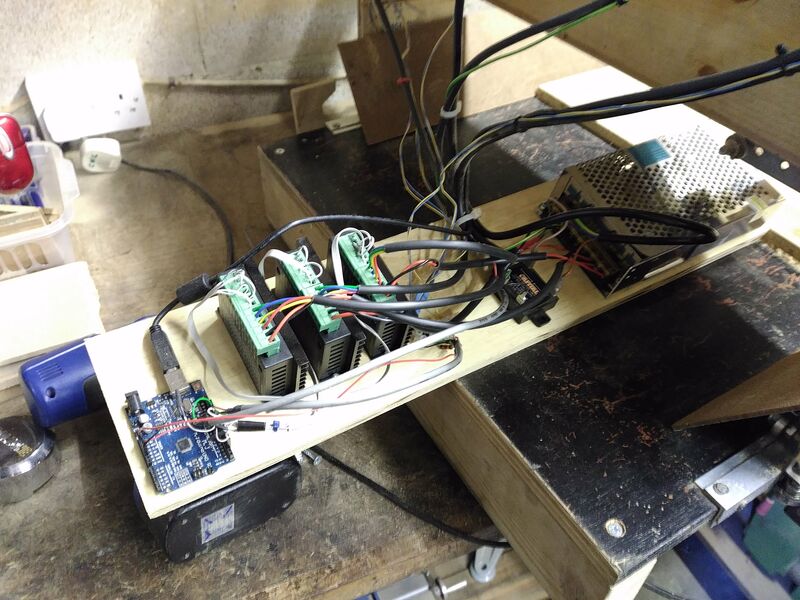
This shows how simple the wiring is for the motors
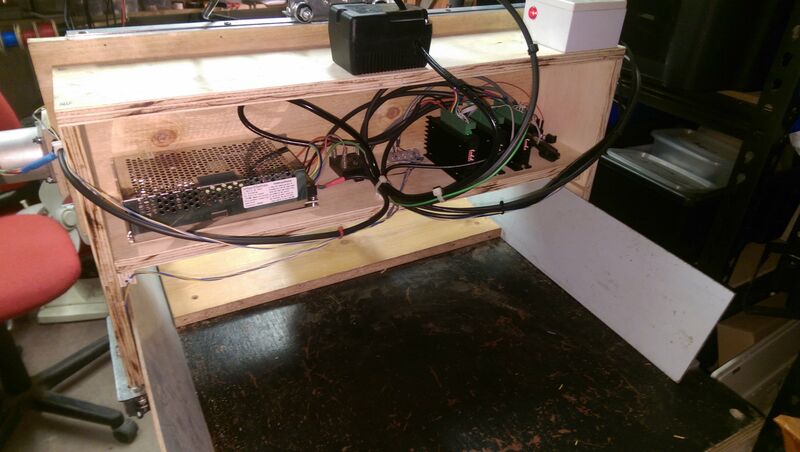
All the electronics are hidden away in the gantry
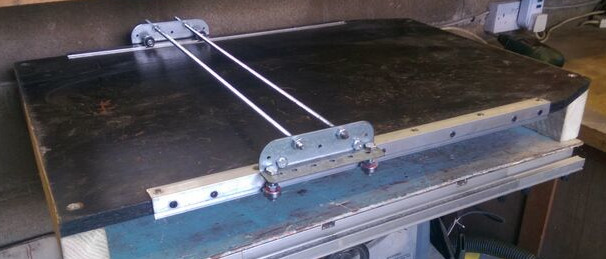
My initial skate bearing version
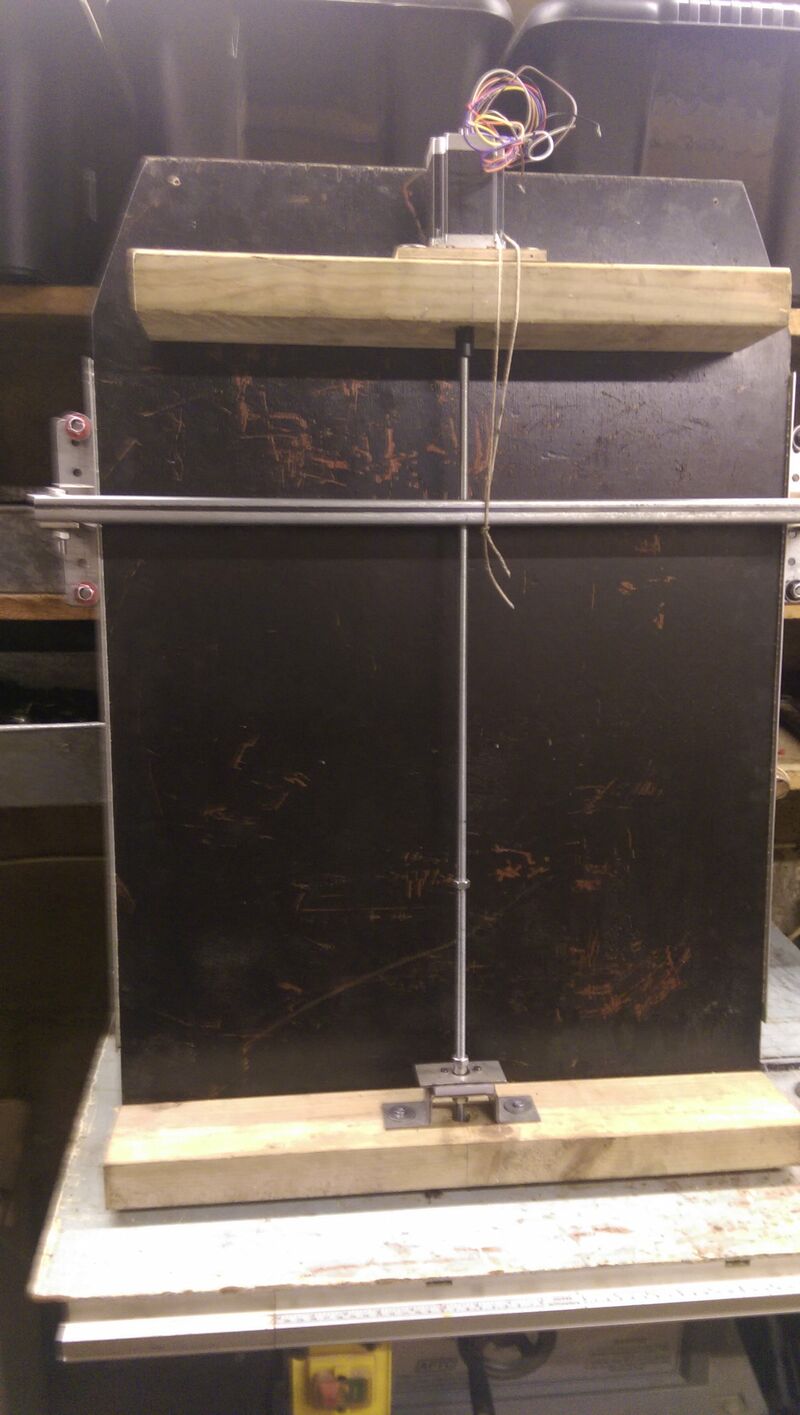
I believe a motor either side would be a big improvement to this design
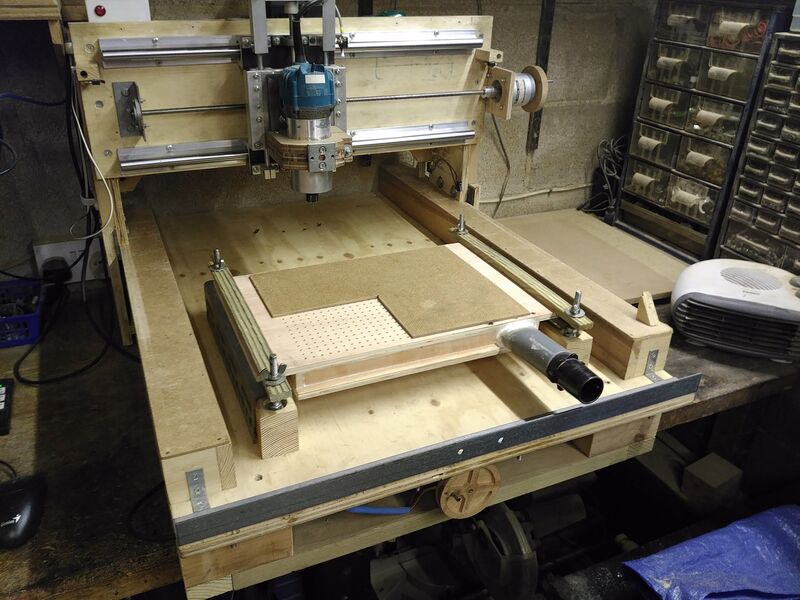
This shows the vacuum hold down table I made which attaches to my shop vac and is very handy for engraving etc.
Links
Useful links - my links page
KrabzCam - produce gcode from SVG file (very good)
JScut - I used this until I found KrabzCam
GRBL - For Arduino Uno/Mega
FluidNC - GRBL for ESP32 (much more advanced)
Universal Gcode Sender - send gcode to Arduino
ChilliPepper - gcode viewer
Clough42 - a very advanced/expensive build