thumb

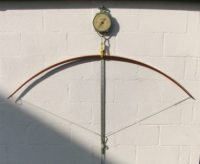
Alan's bow making tiller Page

updated Mar 13

thumb

I have been trying to figure out a better design of tiller for my bow making - it seems there are several ways of doing it but each way has its own problem associated with it
So, here is the design I have come up with:


tiller4


I 
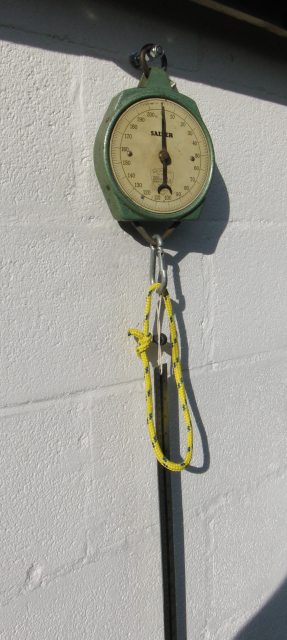
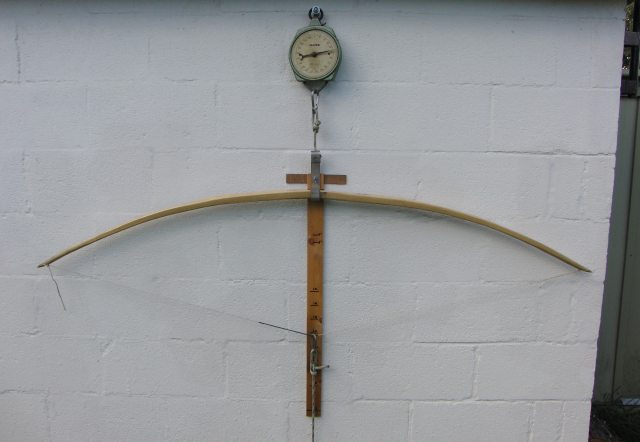
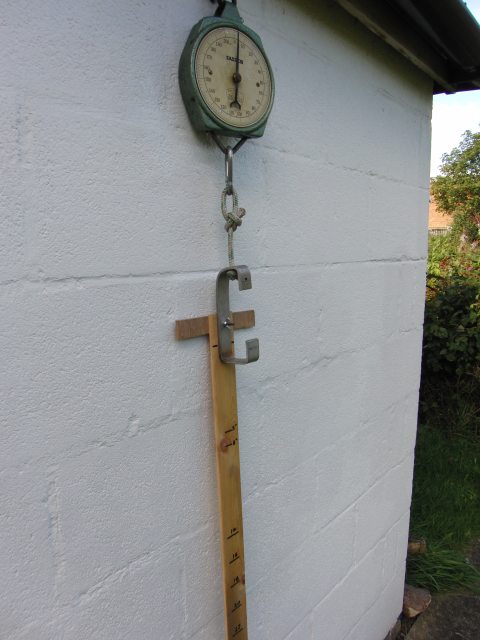
used to hang the scales from the bow but I decided this was not such a good idea because if the bow fails there is a very good chance it will trash 
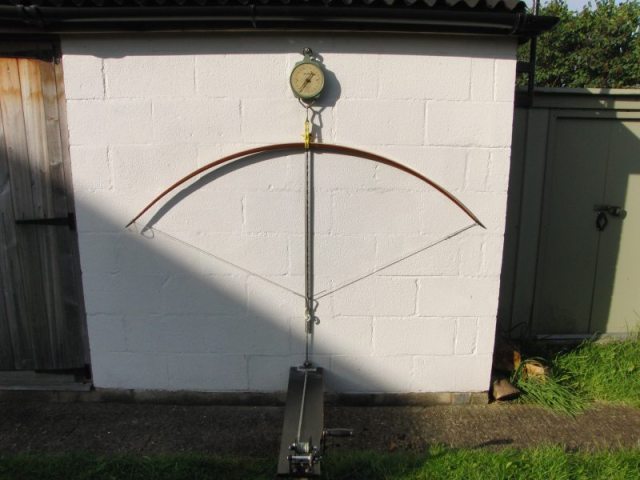
the scales
but the problem with hanging the bow from the scales is that as you increase the weight on the scales they extend (e.g. mine extend 15mm with 130lb on them) , so it is difficult to accurately measure draw length
so I came up with the idea is hanging a metal ruler from the scales - this works great and means all measurements can be guaranteed to be very accurate.
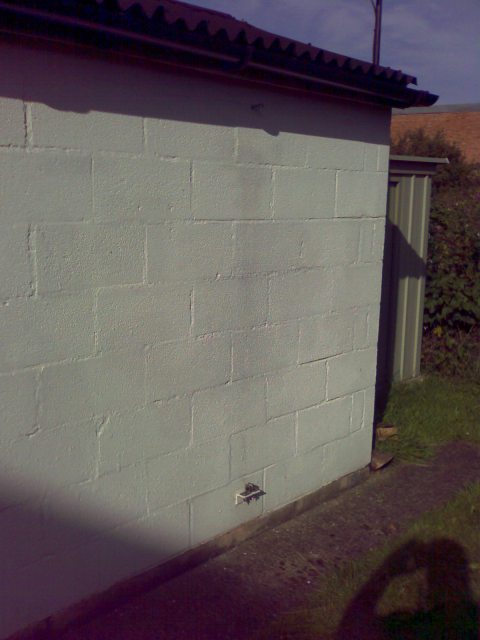
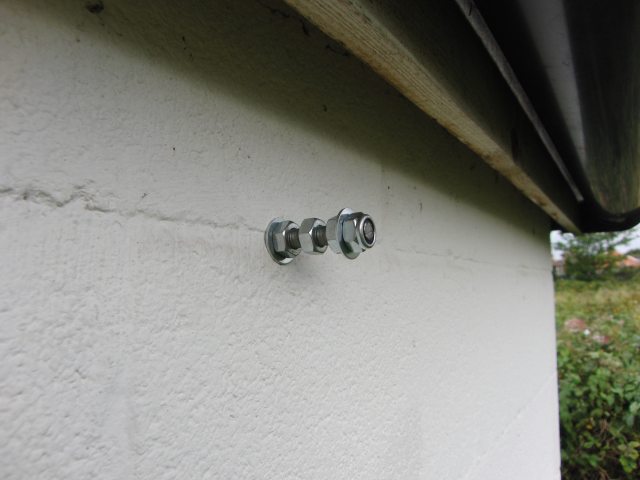
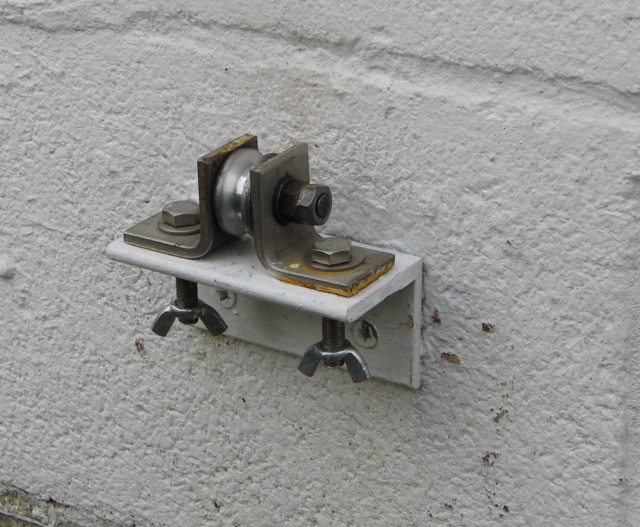
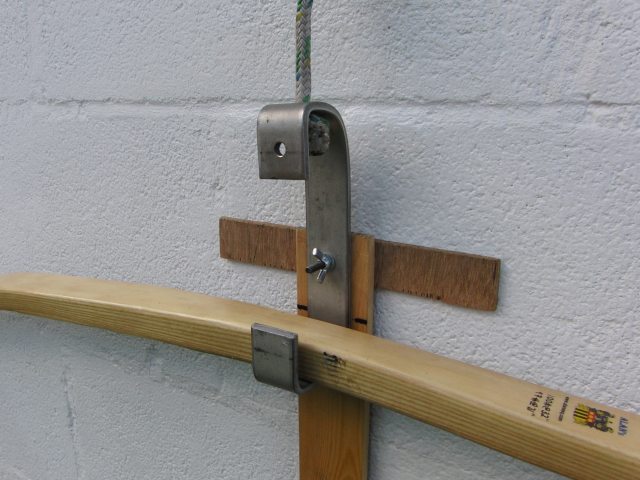
tiller2

BTW - The scales are hung from a bolt which goes right through the wall, this way there is no chance of it coming away from the wall when I have my bow on it
You need to make sure that all mountings are very solid as the last thing you want is for a bow to be ruined because of tiller failure.  I have seen pictures of the damage a pulley can do to your face if it pulls free of the wall - it is not something you want to happen !

I am still working on a better way to mount the bow on the tiller - some kind of strong metal hook the bow will just sit on rather than wrapping a rope round the bow (watch this space) ?


I think that with heavy bows a winch is essential (mine was £5 from eBay) but even when making light bows I think it is still a good idea.  Whilst you can do it by hand, if a bow breaks you will be launched in the opposite direction (in my case through my hedge) and also a winch will release the pressure as soon as the bow gives way and so it results in much less of an explosion/shrapnel
A winch makes the whole process so much easier and it means you can stop at any point and study the bow without trying to hang on to the rope, it also gives a really satisfying clicking as you wind the bow up :-)

tiller1

The pulley is very solidly attached to the wall and it is a very solid pulley, The arm with the winch on then bolts to the pulley mounting (and can quickly be removed when not in use)
This arm the winch is on also gives extra support to the pulley mounting and pevents any risk of it being pulled from the wall

Note - Use a good quality rope - I have found the cheap blue type of rope most people use can snap when you least expect it - this resulted in my being thrown through my hedge backwards, it didn't do my bow any good either.


A 
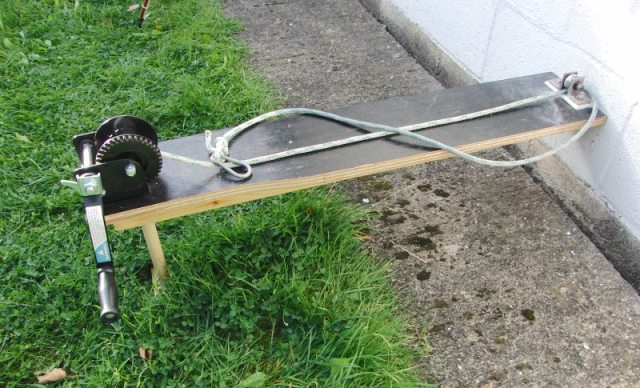
good feature of this setup is that when I am not using it, most of it quickly disconnects leaving the wall clear with no marking or anything
I use the mortar lines to help compare bow limbs so I find I do not need to draw any horizontal lines etc.

tiller3

Scale mounting:
bolt

Pulley:
pulley


Updated design

I have now made myself a metal "hook" which the bow sits in (It is just made from some thick stainless steel), this makes it much easier removing and replacing the bow when tillering and also has the advantage that the "ruler" can be solidly attached to this hook (I have made the ruler mounting adjustable so it can be easily moved up or down to suit the bows thickness via the wing nut)

tiller2-1 tiller2-3
tiller2-2


Misc notes

Some people prefer to use a couple of pulleys and loop the rope round them to reduce the effort needed to pull the bow rather than use a winch

Note - I do exclusively make warbows (i.e. in the 130lb area) so you may not need to make your tiller this strong, but even if you plan to make lighter bows there is no harm in doing so as it gives you the option.


My Longbow/Warbow page

My longbow making guide (The Back Street Bowyer)


You can contact me on - alanesq@disroot.org

Back to my homepage