I built all the parts for a clock and assembled it, but soon discovered that getting it to run for more than a few seconds
without stopping was the real challenge of clock making. The gears had to be made extremely accurately or they would
jam and the clock would stop. This was not an easy task, especially when working with wood. I had to scrap and remake
every single gear wheel, spending many hours figuring out the problems. But eventually, it was running pretty reliably
and kept surprisingly good time.
For anyone considering making a clock, I would highly recommend it. It is very interesting and rewarding when you finally have
a working clock. However, do not underestimate the level of accuracy required for the gears and how free-running every
bearing must be. The slightest problem with a gear tooth or bearing will cause the clock to stop.
I used software to design gear wheels, which I then printed, glued to plywood, and roughly cut out on a bandsaw. I then used a
small vertical belt sander to achieve final accuracy on the gears. This is a time-consuming task but does a pretty good
job. If you can access a laser cutter or CNC router, it would be an ideal way to make the gears. Additionally, make sure
the center hole in the gear is very accurate, as it can cause problems if not done correctly. I cut the center hole
before gluing the template on and cutting the gears.
Before starting on making your first clock, I suggest first just make a pair of gears. Mount them on a piece of wood and while
applying slight resistance to one, turn the other very gently and feel for any slight resistance. The gears should turn
reliably without hesitation. This will give you a good sense of the level of accuracy required for the gears of your
clock and help you avoid some of the mistakes I made.
I used this clock for a good while but I have now replaced it with
clock number 2
(below).
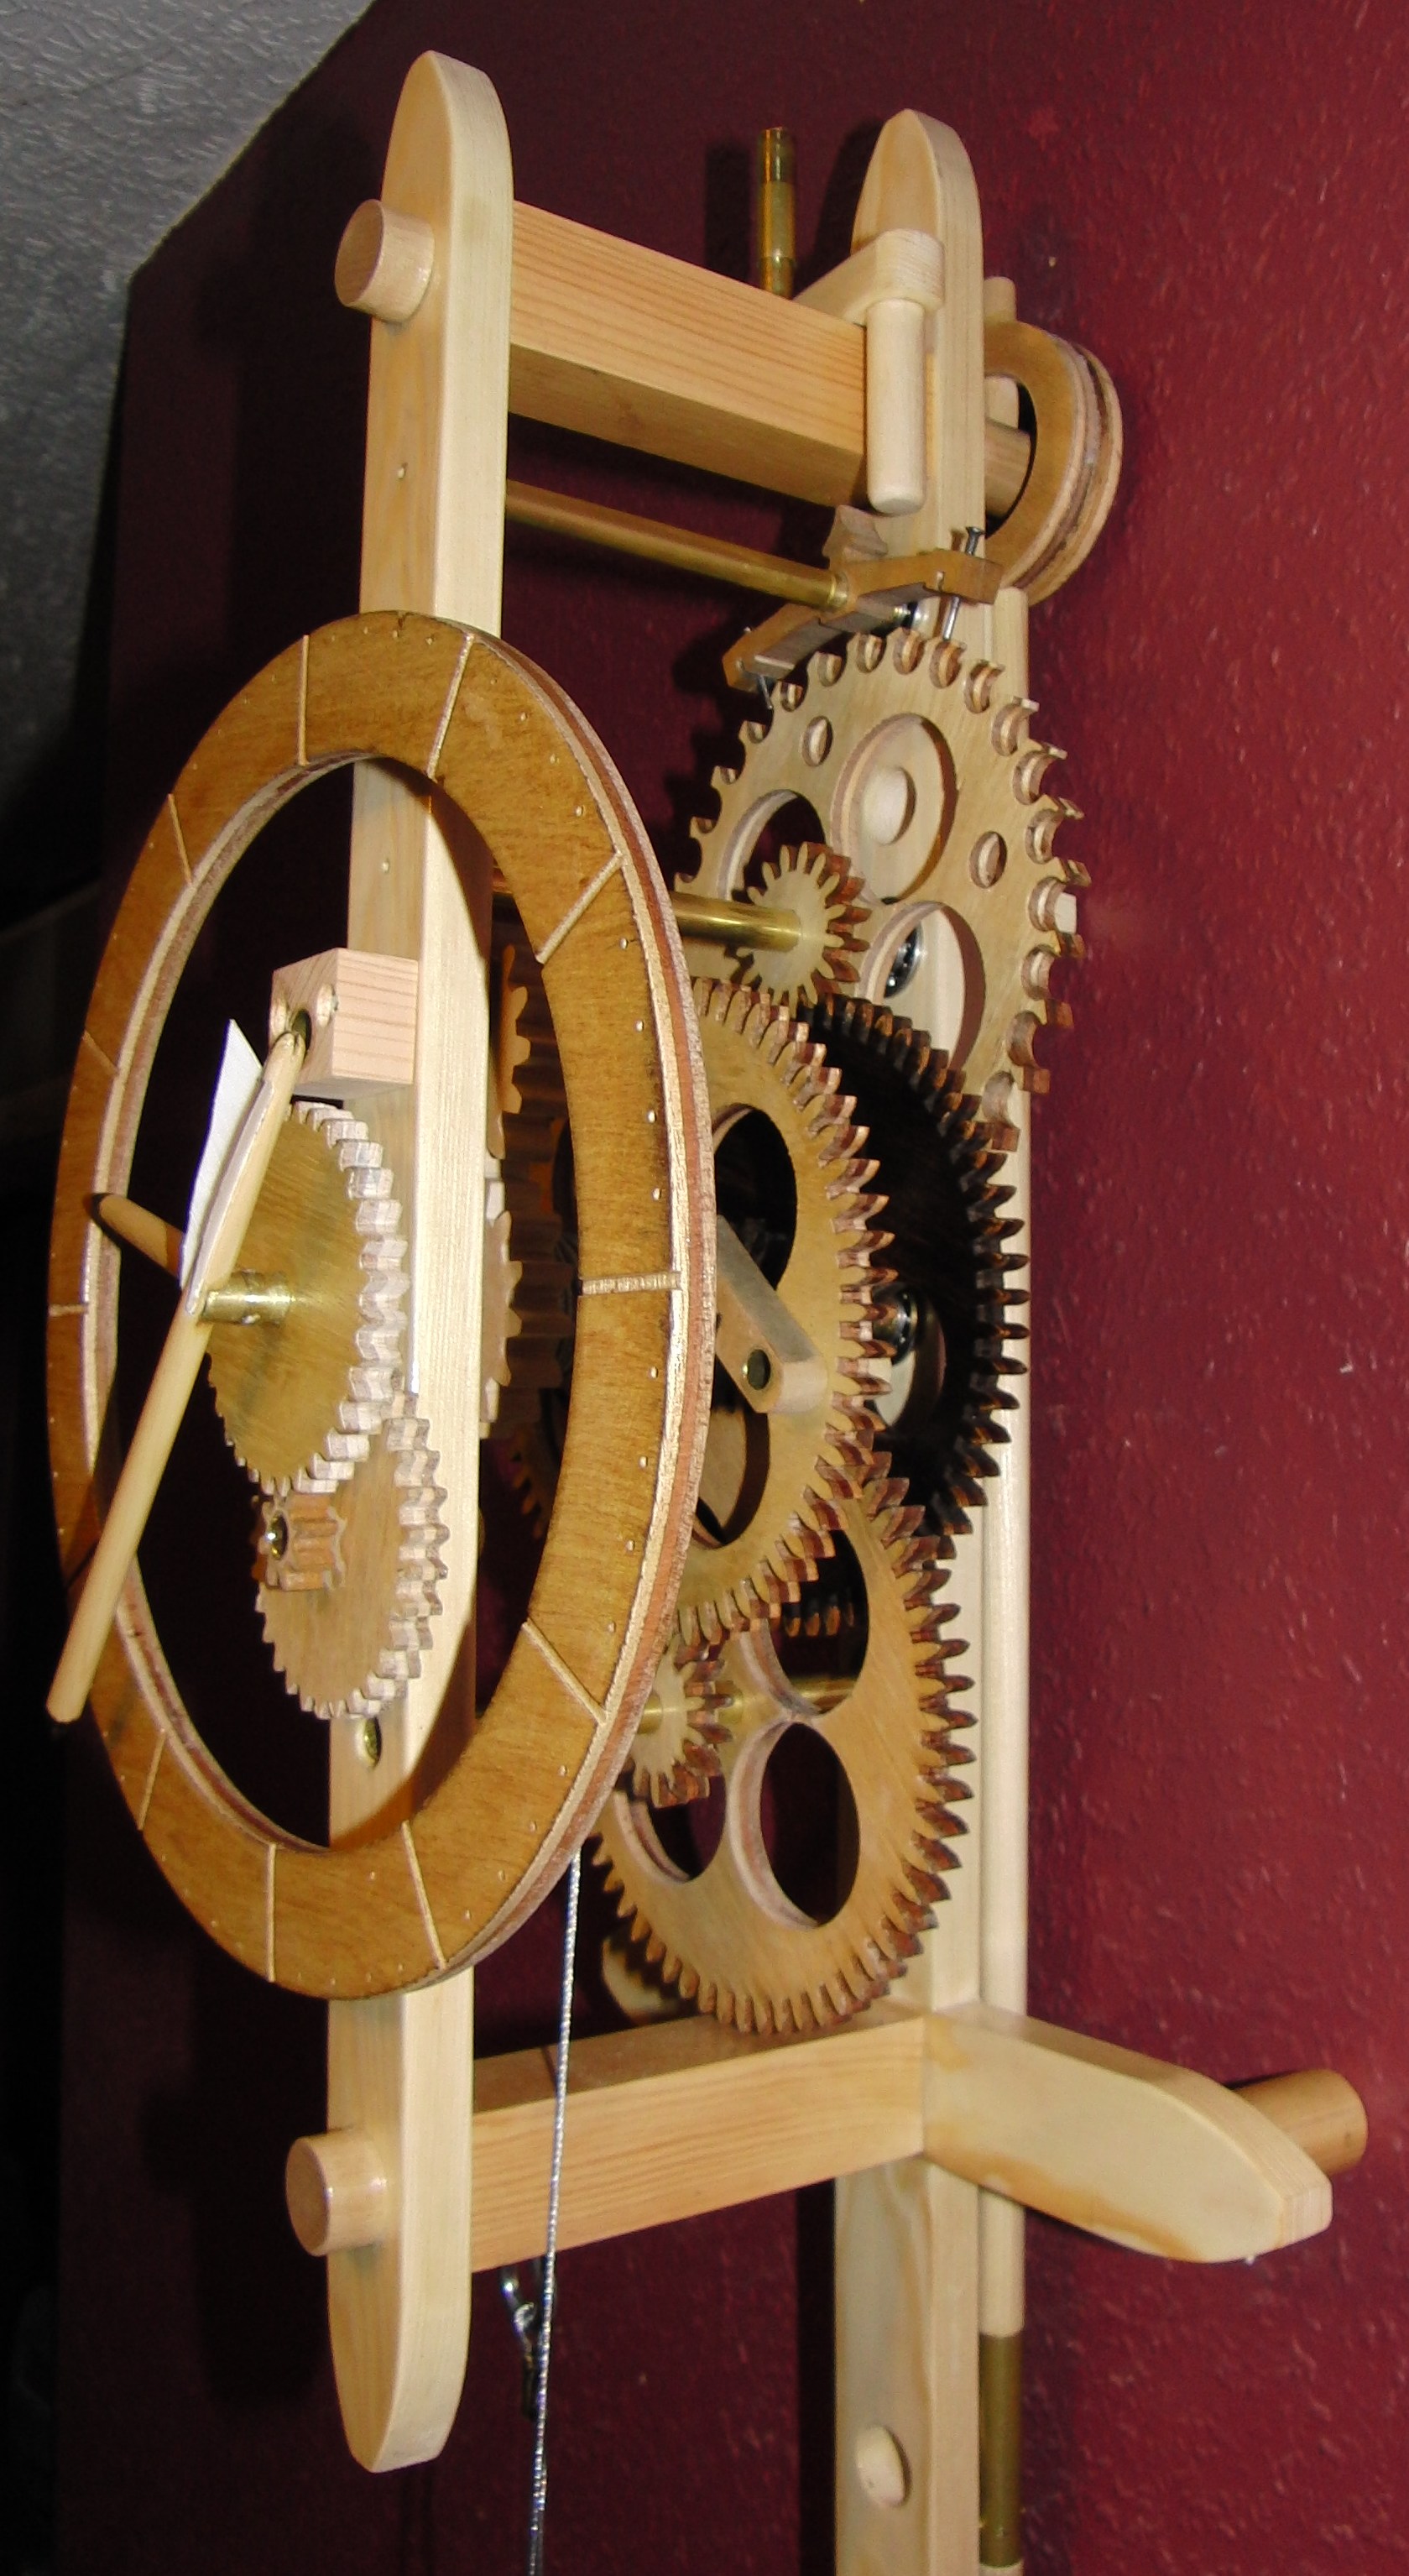
Clock 2
This clock is completely my
own design; I watched a
flying pendulum or Ignatz clock
on YouTube and thought I just have to try making one
of these!
I
had no plans or anything more than a few pictures of these clocks,
so I
first set about
making the escapement
just to see if I could
figure it out, then when this seemed to work I started
adding the rest bit by bit until I had a finished clock - I think it
turned out
surprisingly well considering the lack of any real planning.
I had the idea in my head of how the top horizontal gears would take
the
drive towards the back of the clock but had no idea how I
could make
the bevel gears, I then had a flash of inspiration - I bought some
Mechano bevel gears from eBay and used those ;-)
It was then pretty simple working down the clock with the next 4
gears
(I
know the smaller ones are actually called pinions, but you know
what I mean)
I
then spent some time figuring out how the next part would work and
had
another flash of inspiration - If I put the drive pulley in the
centre
of the hour hand gears this would save me having to
make extra gears for the pulley.
It had now all fallen into place and I had a working clock ....
I have always said that the Ignatz clock is famously inaccurate (more
a
novelty than a
time
keeper)
and they often don't even bother fitting a minute hand
for this reason, mine was no exception. But recently I finally
got round to looking at tweaking my clock as the weight was
sometimes
striking the centre bar. I lightened the weight a little and I
have been amazed at the result, I think this had been upsetting the
time keeping far more than I had ever imagined. This clock is
now
keeping surprisingly good time :-)
This clock has been in use since Apr 09 with no major problems,
Occasionally I have to replace the string on the flying
pendulum as
it gets a bit frayed.
Although it looks pretty complicated I think this type
of clock would actually be a better first try at clock making as I
found it easier to get running reliably as the escapement of the
Ignatz
tends to keep things moving as it pulls the gears along as it swings
where as the more usual escapement tends to
stop the clock then it is up to the gears to start moving again on
their own accord.
I finished this clock in Apr 2009 and it has been in constant use
ever since, I had expected the gears to soon start wearing/breaking
especially with them being made of the cheapest plywood but so far
there are no visible signs of wear at all and it is still running
fine, in fact it is extremely rare for it to even stop. It can
keep reasonably good time when adjusted (these escapements were
never going to be very accurate) but this seems to vary a lot with
humidity changes, I keep meaning to try some different thread as I
suspect this is the cause...
I
don't have any plans for this clock as I designed it as I went
along, but if you email me I can send you the files I used to create
the gears etc..
Clock 3
I did plan to make another clock similar to clock2 but this time
use some decent quality wood and spend more time on getting a decent
finish as the one I have was more of a prototype and not great when
you
look at it close up - but I will probably never get round to it?
I have recently got interested again in playing with electronics
(something I did many years ago but never really did very well
with it),
I then discovered the
Arduino
microcontroller which makes it all so much simpler....I was never
very
good with analogue electronics with all the maths etc. but with the
Arduino this side can be kept
very simple and everything is done just by programming it in a
version of C so you can easily create some pretty impressive things
with it.
I have built myself a CNC router and this looks like the ideal tool for making gear wheels, it can cut one out
in under a minute which by hand would take me hours. If more info. on this would be of interest please let me
know as if there is enough interest I will supply details of how to build one cheaply and the easiest way to
use it.
e.g. To make a gear I draw one using Inkscape (it has a built in gear wheel tool) then use Laserweb to convert
this to the required gcode for my cnc router.
You
can contact me on - alanesq@disroot.org
Back
to my homepage


